
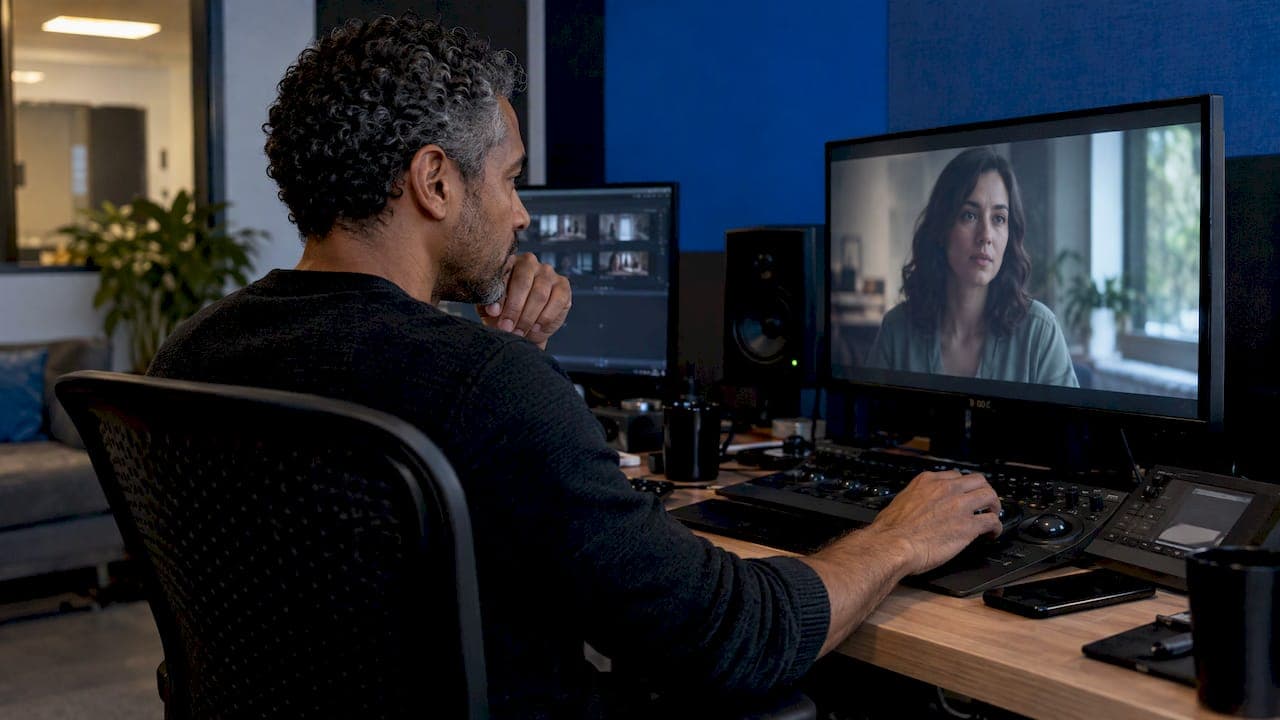
Color matching video means adjusting clips shot on different cameras, at different times or under different light so they read as one continuous scene. The fastest reliable method: pick one hero shot, correct every clip to a neutral baseline, match brightness, color balance and saturation to the hero, check faces last, and only then add your creative look. An automatic match button can start the job, but you finish it by eye.
TL;DR
- Choose a hero shot and match every other clip in the scene to it, not to each other.
- Work in order: primary correction, then matching, then the creative look.
- Match black point, white point, midtones, color balance and saturation, in that order, using scopes as a guide and your eyes as the judge.
- After any AI or one-click match, check exposure, highlights, hue shifts and especially faces.
- Perfect is not the goal. Believable skin and a shared visual world are.
Table of Contents
- What color matching means (and when you need it)
- Where matching sits in the pipeline
- Step by step: match a clip to a reference
- Matching footage from different cameras
- Keep skin tones natural
- Using AI color matching, and what to check afterward
- Common mistakes
- A quick checklist before you export
- Our perspective
- Build a consistent look from the start
- FAQ
- Sources
What color matching means (and when you need it)
Color matching is the step that makes a cut feel invisible. Each clip may look fine alone, yet when one shot is warmer, darker or more saturated than the next, viewers notice at once. Training material on shot matching makes the same point: even individually corrected shots can jar when placed side by side.
The goal is not to make every frame identical. A shot-matching guide from Cinapex Academy frames it as perceptual harmony: the audience should feel the shots belong to the same visual world. A sunset wide and a close-up in the same scene can differ slightly in light and still feel unified.
You need it when:
- You mix cameras, for example a mirrorless body and a phone.
- Clouds, time of day or practical lights changed during a shoot.
- You combine stock, screen captures or generated footage with your own.
- You cut a music video or ad from multiple takes and locations.
- You build a series that has to look consistent across episodes.
Where matching sits in the pipeline
Order matters more than any single tool. Shot matching guidance places color matching after primary correction and before the creative look. That sequence saves you from matching clips that are still technically wrong, then redoing the work when you fix exposure.
- Primary correction. Fix exposure, white balance and contrast on each clip so it is technically sound. If you work with log footage, apply the right conversion here.
- Matching. Align each clip to your hero shot.
- Creative look. Apply a grade, film-style look or LUT to the whole scene at once.
If you use looks and LUTs, our guides on correcting first and starting a LUT at 50% and building a believable grade with nodes explain how to keep the creative layer separate from the matching layer. For the reverse question, what a single button can and cannot do, see one-click color grading.
Step by step: match a clip to a reference
1. Pick the hero shot
The hero shot is the clip that looks the way the scene should look. Usually it is a well-exposed, well-lit medium shot with a face or a neutral object in it. Every other shot in the scene is matched to it, which keeps the whole scene consistent instead of letting small errors drift from shot to shot. The same logic applies to any set of deliverables: if you cut the same footage into several aspect ratios, a production-ready vertical video workflow starts from one approved master look too.

2. Compare side by side
Put the hero frame and the target frame next to each other using a split or comparison view. Your eyes adapt quickly to whatever is on screen, so flipping between full-screen shots hides differences that a side-by-side reveals.

3. Match in a fixed order
A workflow recommended in a camera-matching tutorial aligns clips to the hero shot in this sequence:
| Order | Adjustment | What you are fixing | Scope to watch |
|---|---|---|---|
| 1 | Black point | Shadows that are lifted or crushed compared to the hero | Waveform |
| 2 | White point | Highlights that clip or sit too low | Waveform |
| 3 | Midtones | Overall brightness and contrast of the subject | Waveform |
| 4 | Color balance | Warm or cool, green or magenta casts | RGB parade |
| 5 | Saturation | Colors that are richer or duller than the hero | Vectorscope |
The shot-matching guide pairs the same ideas with scopes: brightness and contrast on the waveform, color balance on the RGB parade, saturation on the vectorscope. After matching individual pairs, play the whole scene in sequence. Problems that hide in a still show up in motion.
4. Use scopes as a guide, not a judge
Scopes tell you the truth about numbers, but numbers are not the picture. Frame.io's Charles Haine wrote in 2023 that scopes give objective brightness and saturation information while the image stays the main thing to watch. Use them to diagnose a difference you can see but cannot name, and to avoid being fooled by your eyes adapting to a color cast after a long session.
Matching footage from different cameras
Most matching pain starts on set. Two cameras with different sensors, color science and lenses will never be perfectly identical, but you can cut the post work sharply.
- Lock white balance on every camera instead of leaving it on auto. A camera-matching tutorial lists locked white balance plus a reference shot and scopes as the basis of consistent results.
- Use a white balance card rather than guessing a Kelvin value. CVP, a professional video equipment retailer, advises locking camera settings to prevent drift.
- Shoot a color chart on each camera under the same light as the scene. Frame.io's Cullen Kelly warns that a chart lit differently from the scene will not give a useful match. He also treats the result as a starting point: use all, some or none of the calculated match depending on whether the image improves.
- Match exposure intent in camera: same shutter, similar ISO and picture profile where you can.
Even then, accept that some cameras will not match perfectly. The shot-matching guide suggests tolerating small differences and focusing on faces and key colors. Viewers forgive a slightly different wall. They do not forgive a pale, green or orange face.
Keep skin tones natural
Faces are where audiences judge your image. A tutorial on skin tones suggests aiming the skin trace on the vectorscope toward the skin-tone line. If a face sits well off that line, you likely have a cast in the shot, a point the camera-matching tutorial also makes.
A practical routine:
- Match overall balance to the hero shot first.
- Check each face on the vectorscope and on your monitor.
- If skin is still off, isolate it with an HSL secondary or qualifier and gently shift hue, saturation or luminance, so the rest of the frame stays untouched.
- For difficult faces that move, soften the selection, add a soft mask and track it.
- Compare against the hero shot's skin again.
When you must choose, prioritize believable skin over a perfect background, because viewers key on faces. If your selection needs tracking, our explainer on motion tracking AI shows how that works.
Using AI color matching, and what to check afterward
Automatic match tools analyze a reference frame and a target frame, then push the target toward the reference. They save time on the heavy lifting. They are not a finished grade.
One shot-matching workflow guide says automated matching typically gets you 60 to 80 percent of the way, and that manual refinement is needed for professional results. Larry Jordan describes these tools as a starting point similar to a LUT: a baseline to build a look on, not a perfect correction.
After an automatic match, inspect:
- Exposure and contrast. Did highlights clip or shadows fill in?
- Saturation. Is the clip now over- or under-saturated next to the hero?
- Hue shifts. Look for greens drifting yellow, blues turning teal, reds going orange.
- Faces. Check them on a scope and by eye.
- Neighbors. Play the shot with the clips before and after it.
A reference-photo matching guide describes the match as a starting point and recommends curves, HSL controls, color wheels and saturation tweaks to refine it. Choose a reference that is well exposed and neutral, since the tool copies the reference's flaws along with its strengths.
Common mistakes
- Matching before correcting. You end up redoing both.
- Matching everything to the previous shot. Small errors stack. Always return to the hero.
- Chasing identical numbers. Different compositions legitimately produce different scope shapes.
- Grading on a tired eye. Take a break, then review the scene in sequence.
- Ignoring mixed light. A window plus tungsten lamps may need a secondary on part of the frame, not a global shift.
- Over-trusting the auto button. Treat its output as a draft.
A quick checklist before you export
- Hero shot chosen and approved.
- Every clip corrected to a neutral baseline.
- Each clip matched in order: black point, white point, midtones, balance, saturation.
- Faces checked on the vectorscope and by eye.
- Whole scene played at speed, not just stills.
- Creative look applied on top, to the whole scene.
- Final pass on your delivery format, especially if you export vertical cuts. Our vertical video editing workflow covers that handoff.
Our perspective
We built Brix36 around a simple belief: matching color should not require a colorist's toolkit just to get a believable first pass.
When you generate or assemble a music video, short film or ad from many shots, consistency is the thing that makes it feel professional. That is why we think in terms of one look carried through a whole project, with section-based storyboarding so each scene starts from the same visual intent, and one-tap looks that apply a coherent style instead of leaving every clip to fend for itself.
Our approach is designed to let artists, filmmakers and marketers get the structure right quickly, then spend their attention where it counts: faces, key colors and the feel of the cut. Artist DNA profiles are built to keep an artist's visual identity steady from one shot to the next, which is color matching in spirit before you ever open a scope.
We would rather you pay only for the footage you actually make. That is why we use pay-as-you-go credits instead of a subscription.
simeon
Build a consistent look from the start
The easiest color match is the one you never have to do. If you are making a music video, short film or advert, Brix36 lets you plan the project in sections, apply a one-tap look across it and keep a shared visual identity from shot to shot, with no technical skills required. You buy credits for what you produce instead of paying a recurring subscription.

Start with AI lip sync music videos if you are working from a song, plan the story with our music video storyboard guide, or explore the short film maker. You can see how credits work on the credits page.
FAQ
What is the first thing to do when color matching video?
Choose a hero shot and make sure every clip is technically corrected before you match anything. The matching pass then aligns each clip to that single reference. Skipping this order means redoing work when you later change exposure or white balance.
Can AI color matching replace manual grading?
It is best treated as a fast first pass. Guides to automated matching describe it as a starting point that gets part of the way there, with manual refinement still needed. Check exposure, saturation, hue shifts and faces after the tool runs.
How do I match footage from two different cameras?
Lock white balance on both cameras, shoot a reference chart or card under the same light, and match every clip to one hero shot. Adjust black point, white point, midtones, color balance and saturation in that order. Accept small differences and put your effort into faces.
Do I need scopes to color match?
They help most when you can see a difference but cannot tell what causes it, such as a slight green cast. Use the waveform for brightness, the RGB parade for balance and the vectorscope for saturation and skin. Your eyes still make the final call.
Sources
- Shot Matching in Color Grading: Match Shots and Cameras
- Shot Matching: Professional Workflow (Cinapex)
- How to Match Color Between Shots and Cameras
- Grading by Numbers: When to Use Color Scopes (Frame.io)
- How to Use a Color Chart (Frame.io)
- Matching cameras for multi-cam recording (CVP)
- Mastering Skin Tones (AAA Presets)
- Color Matching Your Footage (AAA Presets)
- How to Color Match Shots (Larry Jordan)
- Match a color grade from a reference photo (Luttie)